olympiagraphics
.london
Artwork Guidelines
Software
Files submitted for print should be professionally created and laid out in either Adobe InDesign, Adobe Illustrator (up to CC. '15), saved as native files and packaged or collected for output.
(ie. with the linked graphics and fonts supplied or outlined). We can accept PDF files BUT would prefer to receive the ‘packaged’ documents so we can check the artwork thoroughly. Errors in supplied PDF files are down to you!
IMPORTANT NOTE: We do NOT accept artwork created in Corel or Microsoft Office packages. Files created in any other applications may be acceptable, but will be subject to additional artwork preparation charges.
File preparation
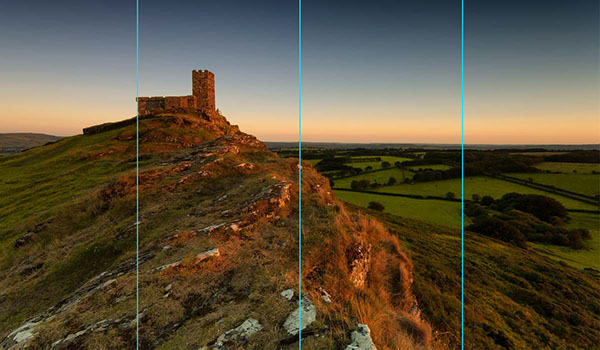
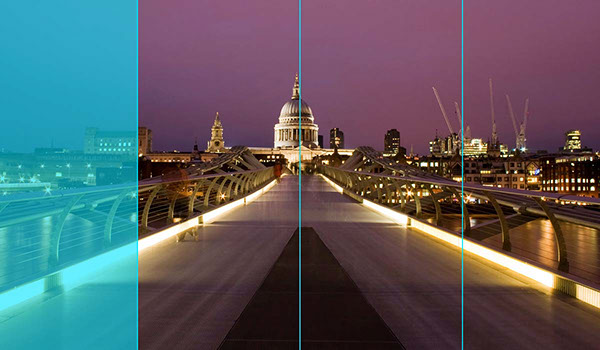
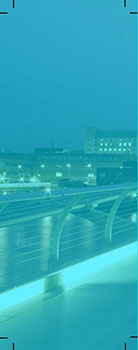
When we run artwork to print we use the crop marks created by the software package to trim from, this is why we need each panel set up exactly to scale within the artwork file. Designers working in InDesign and Illustrator (CS5 onwards) can create spreads of pages/artboards at different sizes, thus enabling the design to remain as a complete spread where necessary. (See fig 1) When artwork is set up in this way and supplied as a spread we can guarantee that the panels will trim correctly and the final design will join seamlessly as you expect it to. If your design has elements within it that stop at a panel edge this file will need to be supplied as an individual panel with the bleed added all round (see fig 2).
Images
Image resolution should be given careful consideration - as the final shell scheme ‘wall’ is over two metres high and has to stand up to close inspection; as well as creating an impact when being viewed from a distance - the imagery is therefore all important. Files created in Adobe Photoshop should always be supplied in the CMYK colour mode and 100% in size at 100ppi or 300ppi for artwork set up at 1 : 3.
IMPORTANT REMINDER: ALL pixel based imagery within the design should be supplied with an output resolution or ‘Effective ppi’ of 100 ppi (dpi).
To prevent pixelisation the imagery should never be subjected to any major scaling within Photoshop and never use .jpgs within your design that have been ‘grabbed’ from websites, as these files are only suitable for viewing on screen and will not withstand enlargement of this scale.
When creating vector files in Adobe Illustrator and Macromedia Freehand please make sure you are working in the ‘CMYK preview mode’
Best black
If your design incorporates a large black area within it, do NOT add a ‘shiner’ or adjust the CMYK mix ie. increase the levels of Cyan, Magenta or Yellow to boost the colour. A solid, rich colour can be achieved with a CMYK mix of 0/0/0/100.
Bleed
Sufficient bleed must be added to all of the panel edges that are to be trimmed. Artwork supplied as a spread has ready-made bleed and will only need to be added on the outer edges. 3mm bleed is sufficient when working at 1 : 3 or 10mm when working at full size.
Proofs
Please supply colour hard copies and / or PDF proofs marked with the relevant panel sizes. This will give us the means to check your files properly.
If you have any concerns or queries AT ALL please give us a call.
Fig 1.

958mm
990mm
990mm
958mm
Files supplied in InDesign or Illustrator can be set up as a spread with different page widths
Fig 2.


When an element within the layout stops at a panel edge this page will need to extracted from the spread and supplied as a an individual panel with the necessary bleed added on all edges..
DISCLAIMER: The reason we ask for native files and linked graphics is so that we can check that all banners are set up to the correct sizes with the right amount of bleed and nothing important within the area that will be trimmed off. However we do not check every individual element of your artwork.
So it is your responsibility to supply all elements (logos, images, etc.) in a format that is suitable for large format print.
olympiagraphics
.london
Copyright © 2015 olympia graphics. olympia graphics is not part of olympia.ltd